Google Authentication, also known as two-factor authentication (2FA), offers an additional layer of security to users. Although the term "2FA" might not be familiar, you may already be using it on various platforms, such as your social media accounts.
When logging into your OrangeX account from a new device, an authentication code is sent to your phone via a text message. After entering the code, you can successfully log in. This process exemplifies two-factor authentication.
Unlike systems and services that only rely on single-factor authentication, which combines a username and password, two-factor authentication comes in various forms, such as SMS, emails, third-party authenticator apps, and even hardware keys. By implementing two-factor authentication, an additional layer of protection is applied to your account.
This article provides a step-by-step guide on enabling and disabling Google Authentication on OrangeX. Ensure you enable it before engaging in trading to protect your assets.
Step 1: Click [My Account]on the upper-right corner of the homepage.
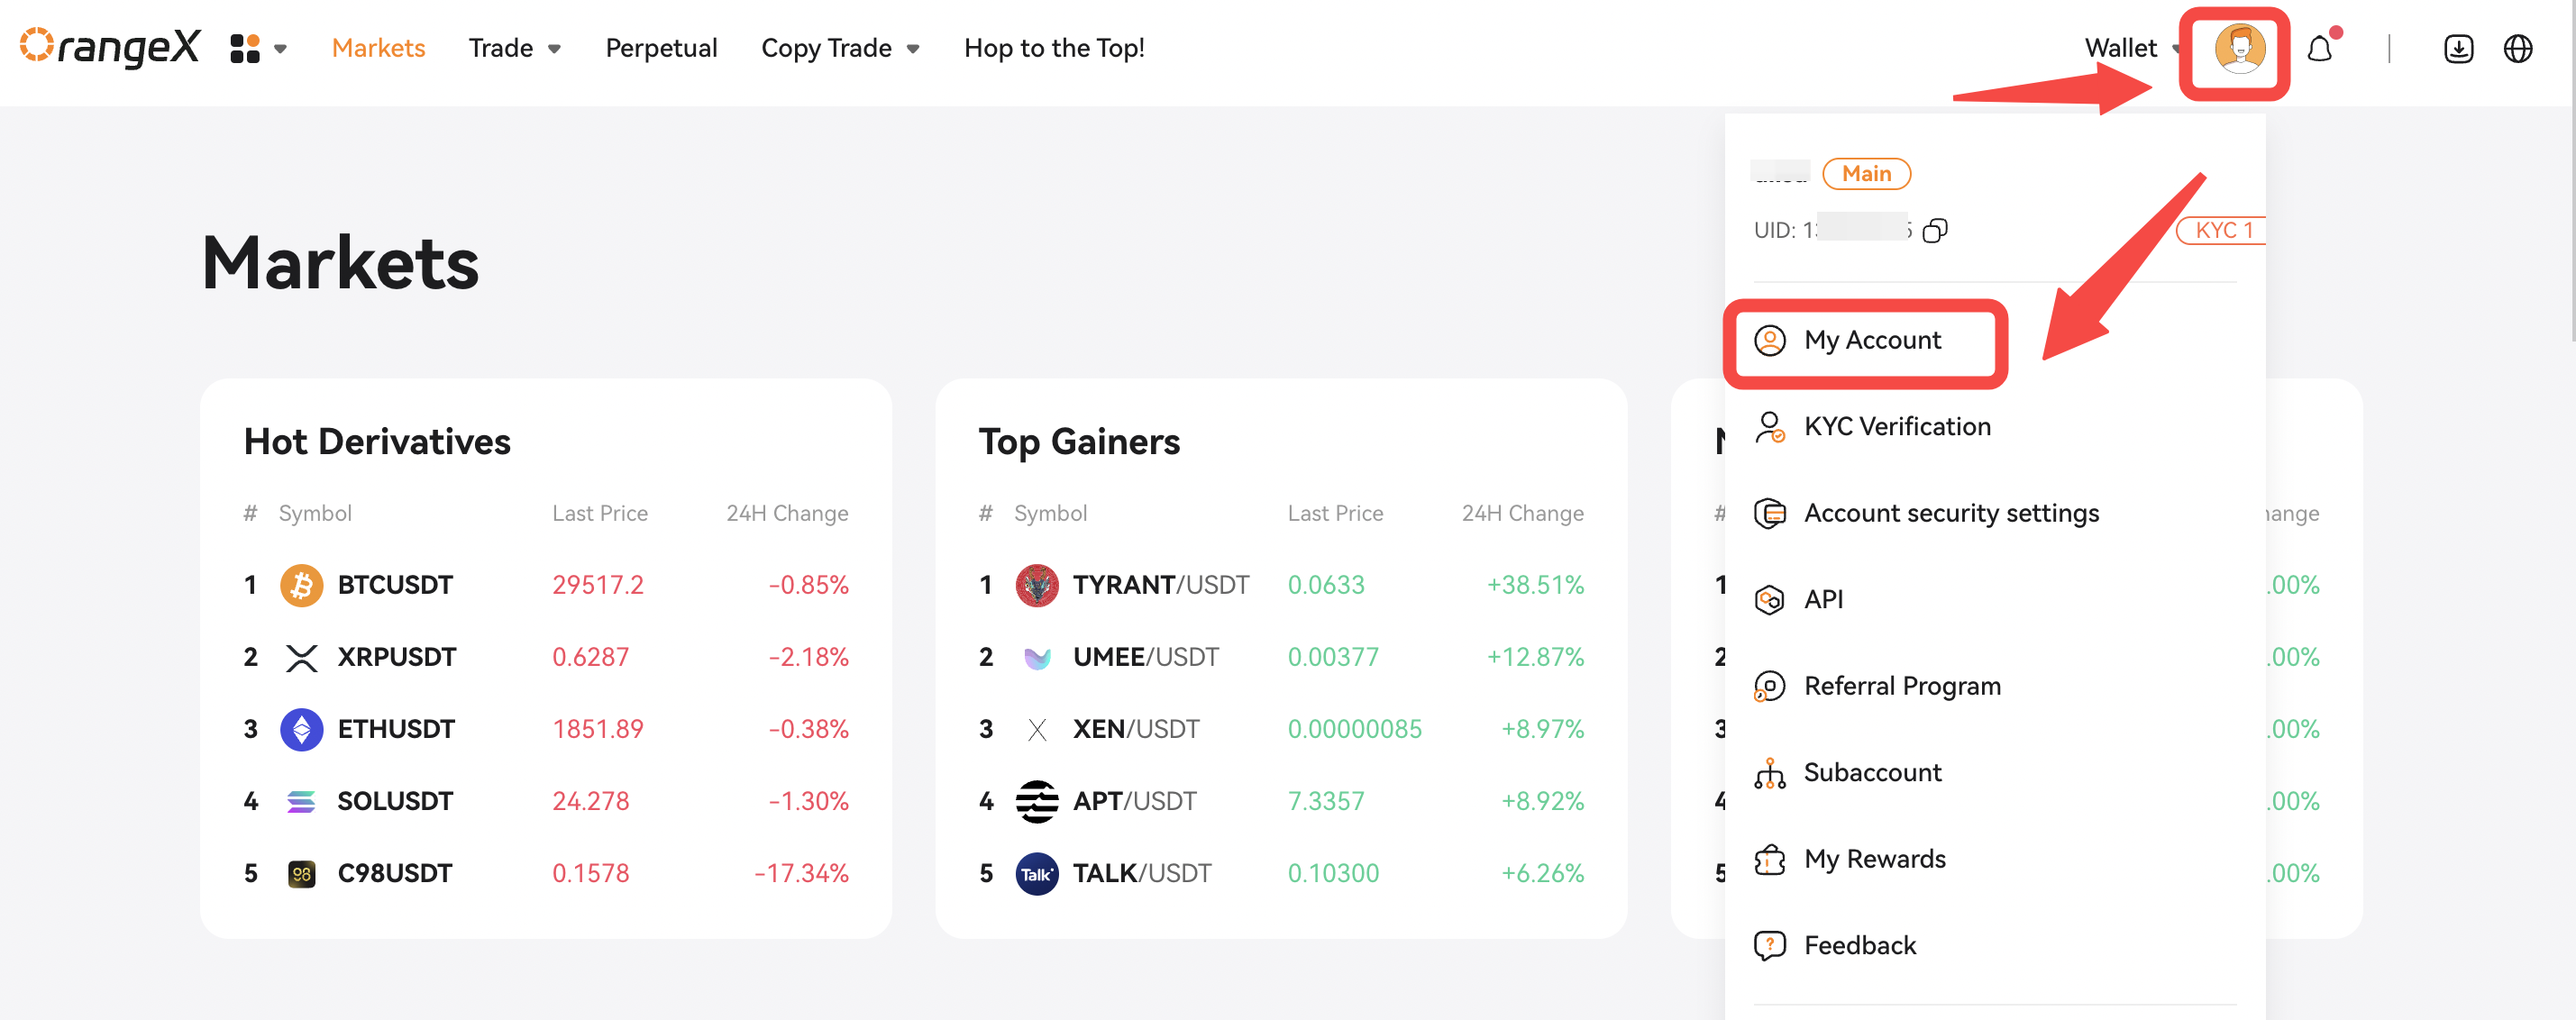
Step 2: Go to [Account Overview] or [Security Settings], you’ll see [Google Authentication]. Then click [Set] or [Bind] to proceed.
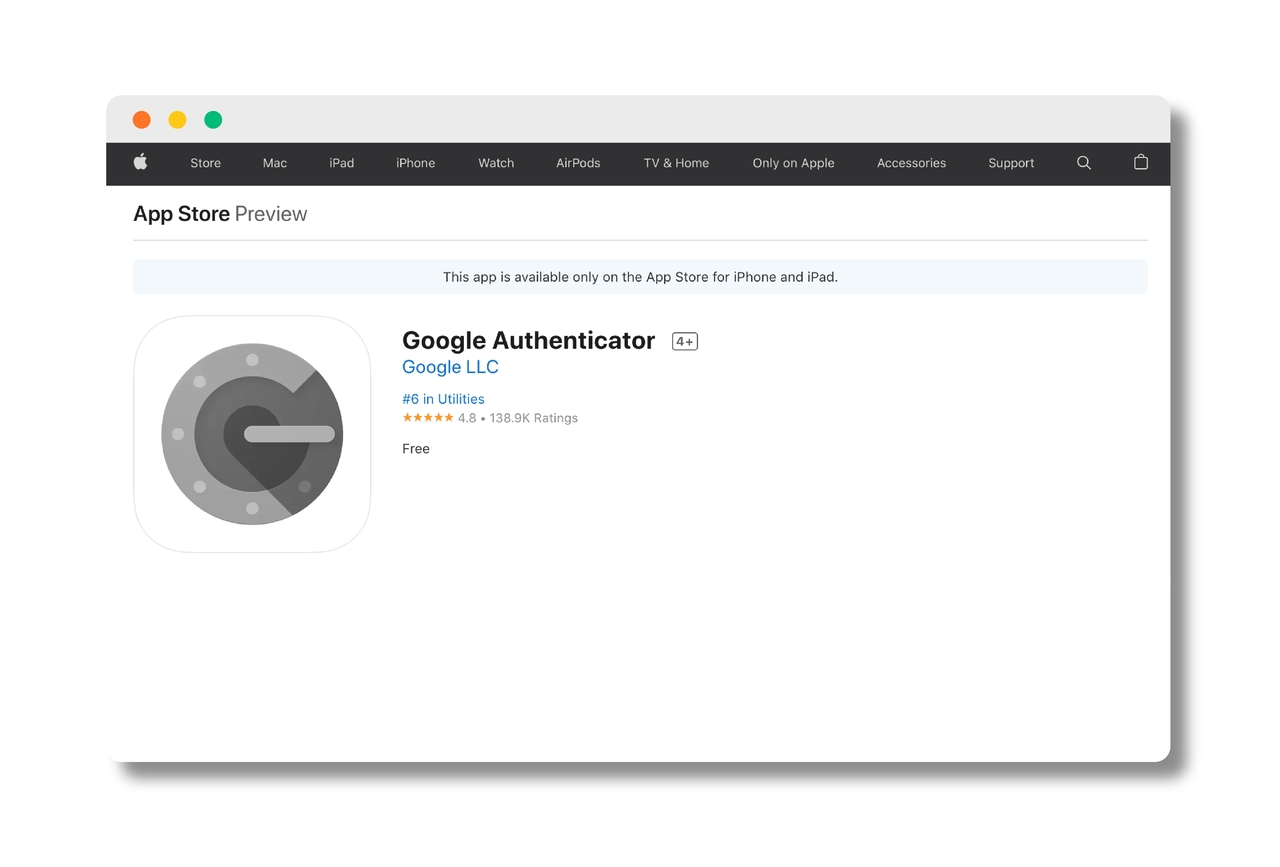
Step 3: Before we start, make sure you’ve downloaded Google Authenticator on your phone.
Step 4: On this page, you will find instructions on adding OrangeX to your Google Authenticator.
Safeguard the recovery codes, as they are essential for disabling Google Authentication and recovering access to your account in case of device loss or accidental deletion of the app without backup. Each recovery code is single-use.
Store them securely. If you lose these codes or face issues recovering your account, contact OrangeX support for assistance.
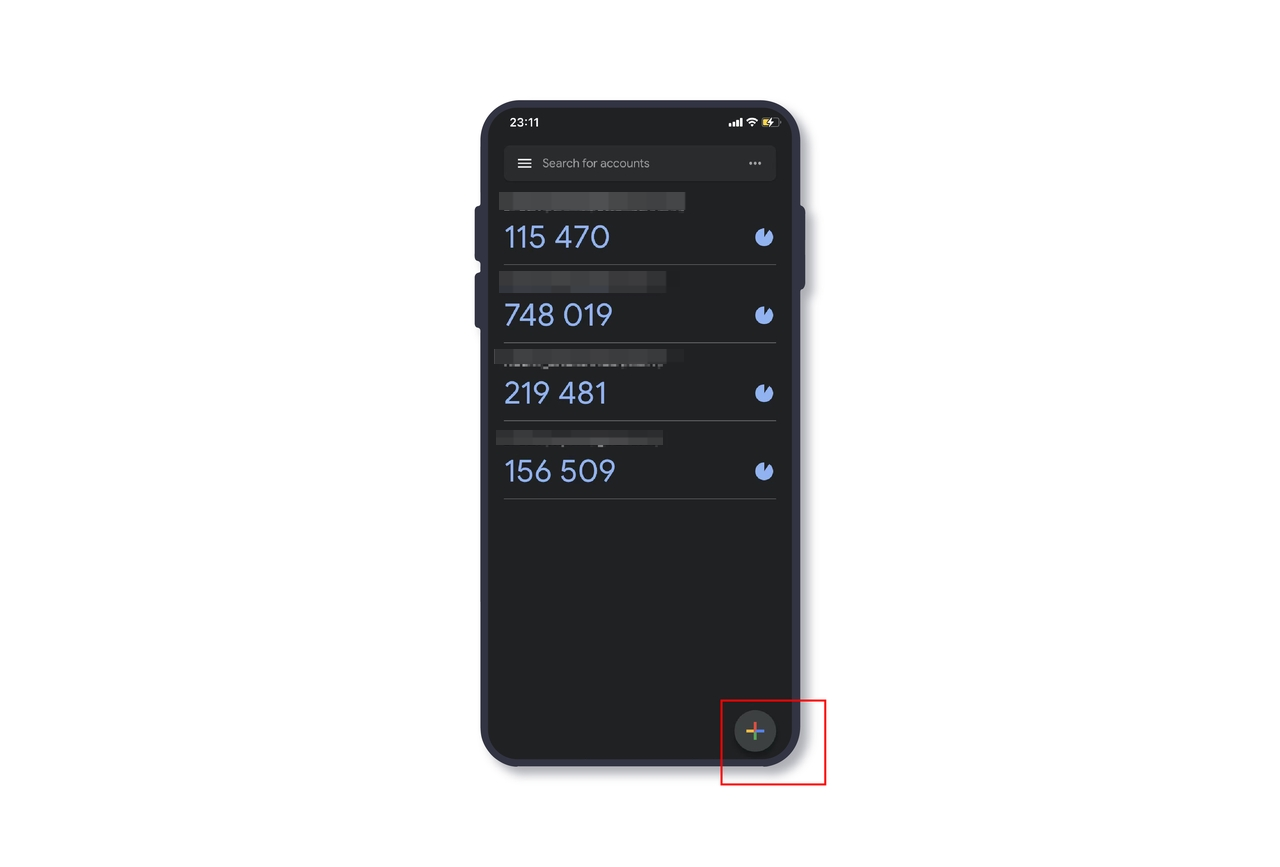
Step 5:Now the easiest way to enable Google Authentication is to scan the QR code. To do that, open your Google Authenticator and tap the [Plus +] icon on the bottom right.
Step 6: Tap [Scan a QR Code] to continue.
Step 7: Scan the QR code below.
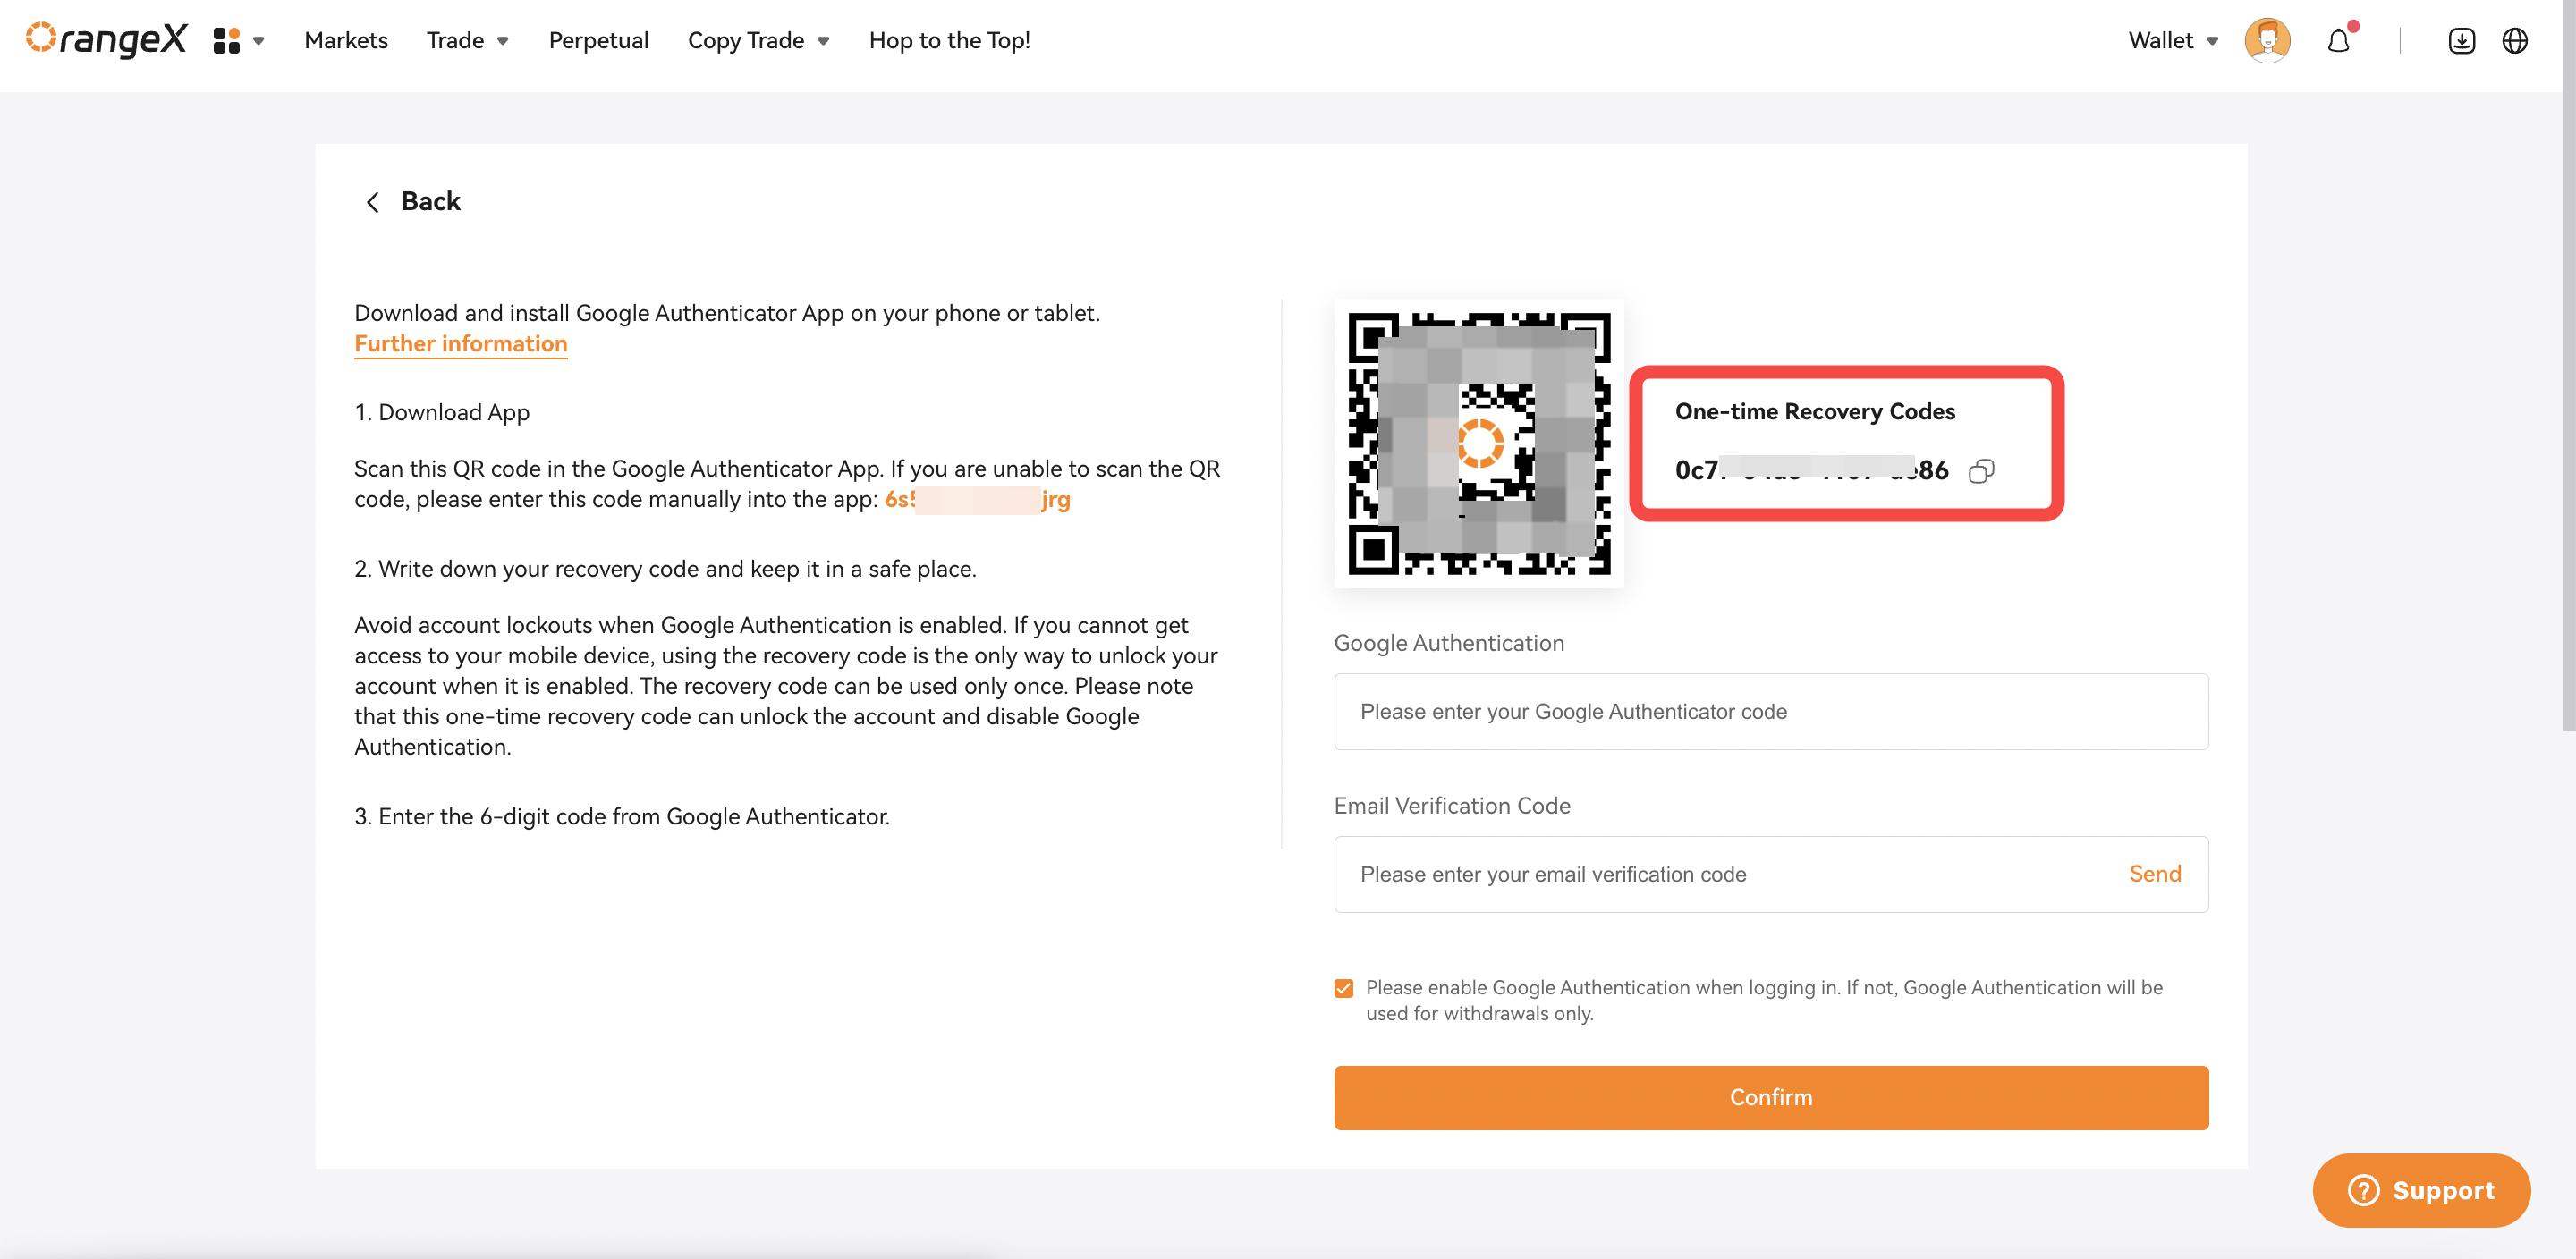
Step 8: OrangeX is now added to your Google Authenticator. Keep the code private. Obtain and input the latest Google Authenticator code and email verification code, then click [Confirm] to enable Google Authentication.
Step 9: If you cannot scan the QR code, manually enter this code in Google Authenticator. Remember, do not share this code with anyone.
Step 10:Open Google Authenticator App, and tap the plus icon on the bottom right.
Step 11: Tap [Enter a setup key].
Step 12: Enter the email address you registered with in the Account box and type in the code from Step 9.
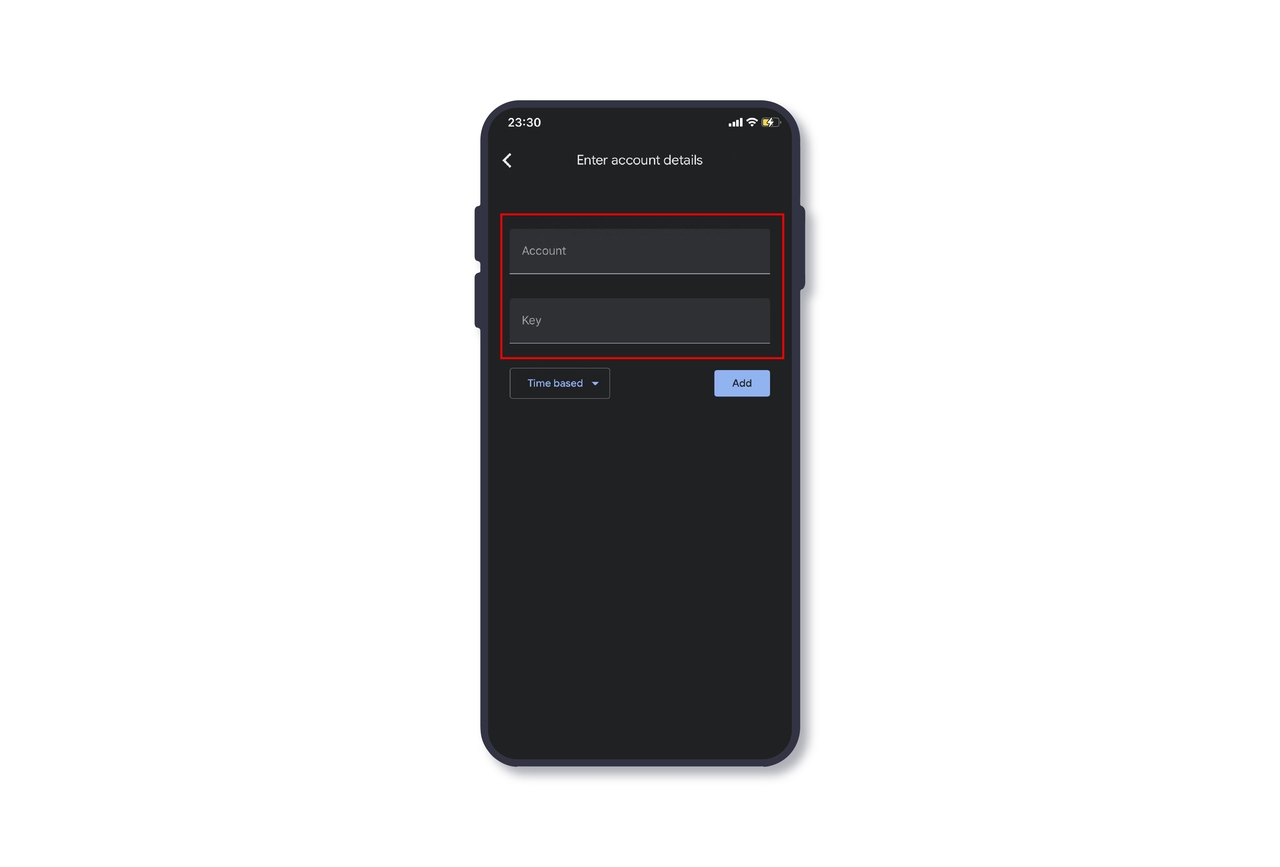
Step 13: Set it as time-based then click [Add].
Step 14: OrangeX is now added to your Google Authenticator.
Now you can get and enter the latest Google Authenticator code and email verification code, then click [Confirm] to enable Google Authentication.
-
If you want to disable Google Authentication
Step1: Go to [Security Settings], you’ll see [Google Authentication]. Then click [Disable] to proceed.
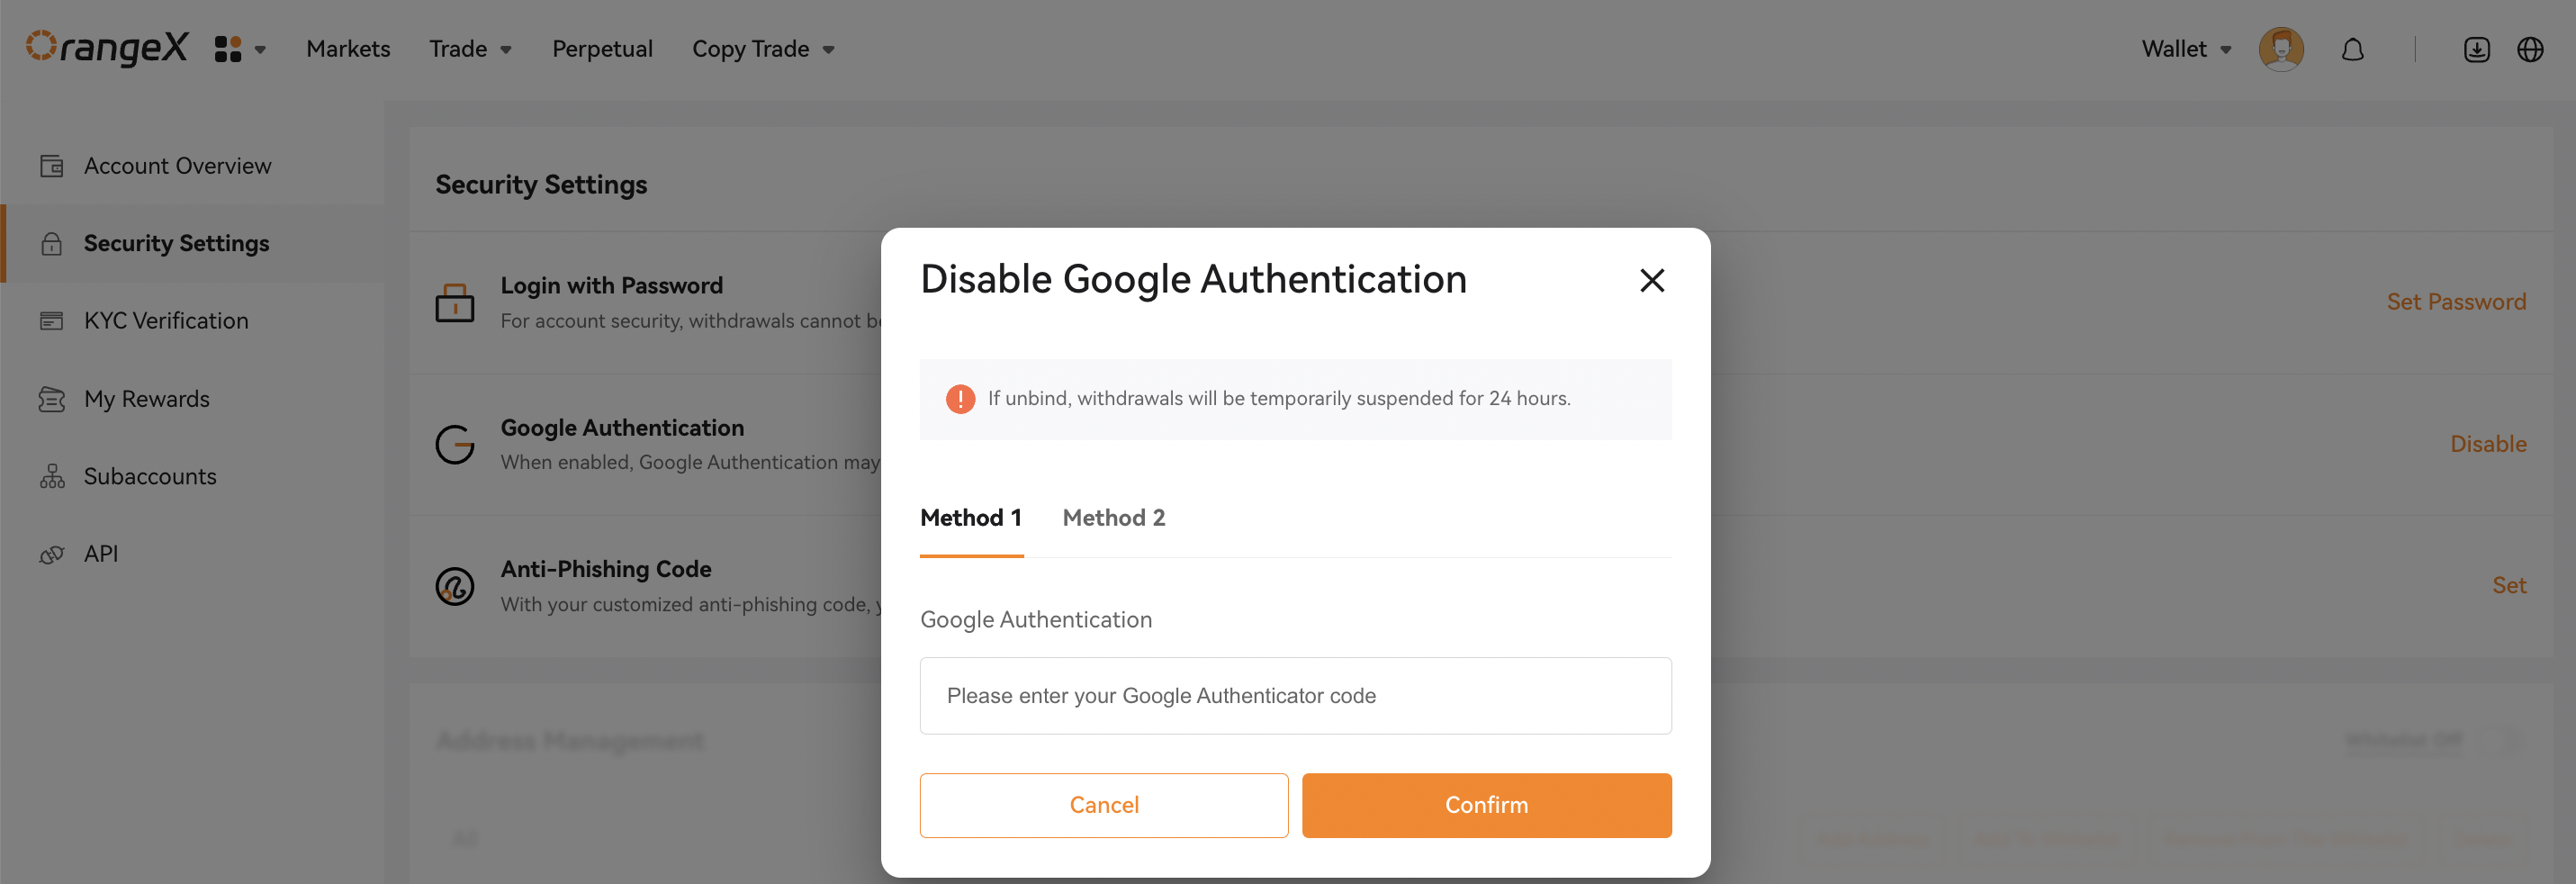
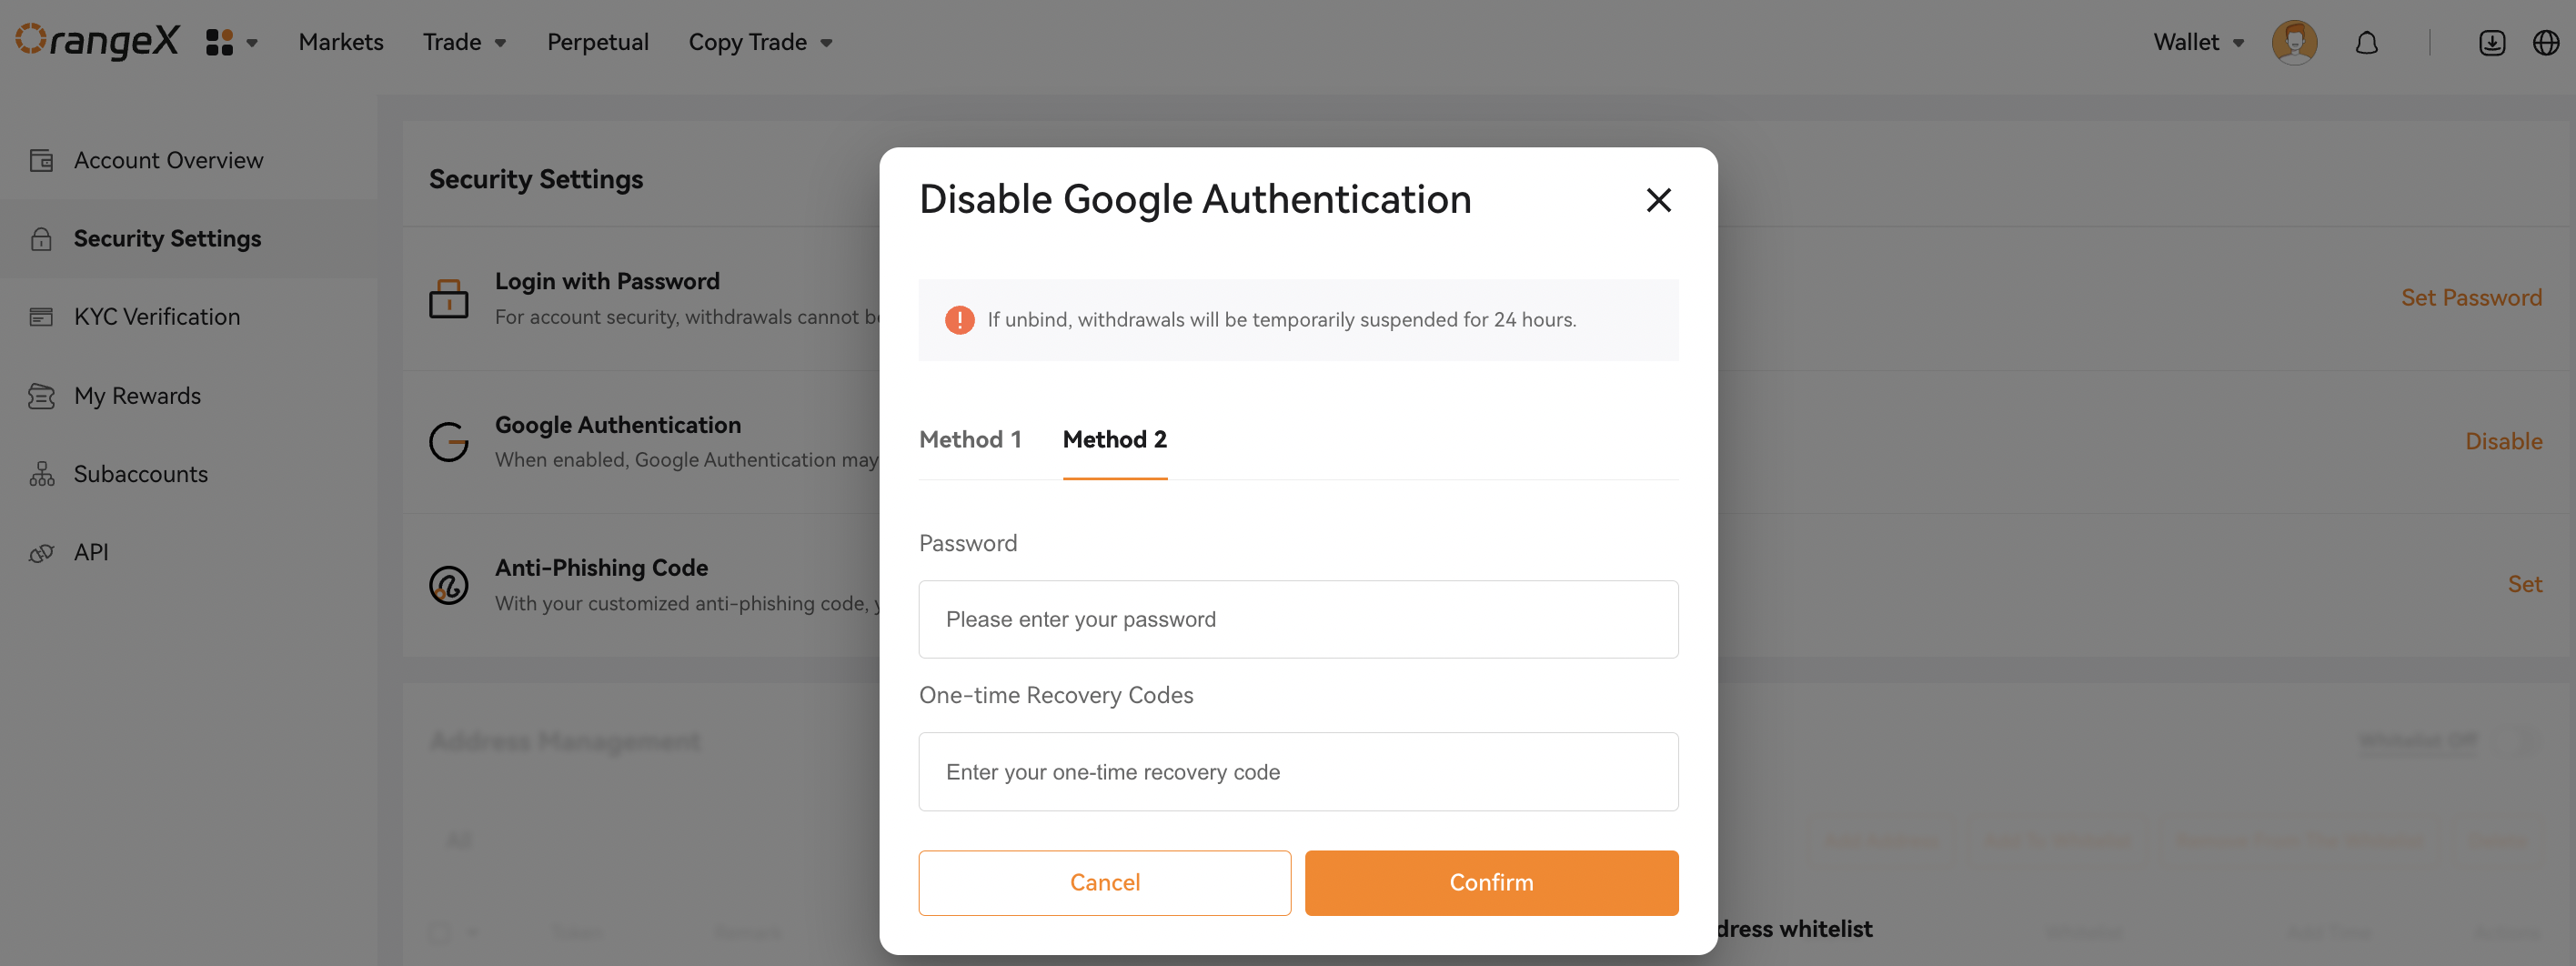
Step2: As you can see on this page, there are 2 methods to disable Google Authentication.
- You can just enter the Google Authentication code in method 1, then click [Confirm].
- If you accidentally deleted OrangeX account on your Google Authenticator or lost access to your mobile device, it’s time to use method 2. You shall enter your recovery code and OrangeX account password, then click [Confirm].
Now, the Google Authentication has been successfully disabled for your account.
Please note that for your account's security, withdrawals will be temporarily suspended for 24 hours after disabling Google Authentication.
Further info: